• HOME
  • ScanSnap Help
  • Usages
  • Useful Usages
  • Scanning and Saving an Envelope or a Receipt

Scanning and Saving an Envelope or a Receipt

Scan a document such as an envelope or a multi-layered receipt as it is and save the scanned image.

Overview Image

This section explains how to scan a multi-layered receipt with the single feed/manual scan mode and save the scanned image.

  1. Prepare a document to be scanned with the ScanSnap.

    Prepare a multi-layered receipt with the page that needs to be scanned shown on top.

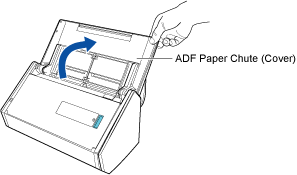
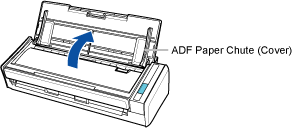
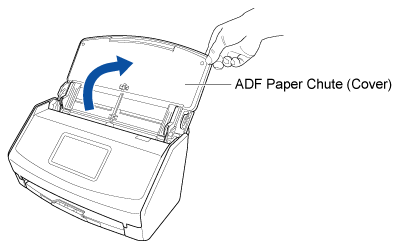
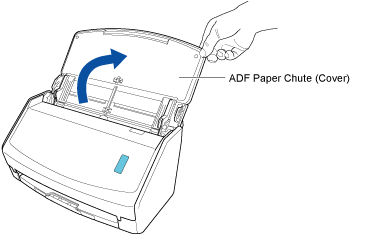
  2. Open the ADF paper chute (cover) of the ScanSnap to turn the power on. Hold the right side of the ADF paper chute (cover) of the ScanSnap then open it or press the [Scan] button to turn it on. Open the feed guide of the ScanSnap to turn the power on.

    Opening the ADF Paper Chute (Cover)

    Opening the ADF Paper Chute (Cover)

    Opening the ADF Paper Chute (Cover)

    Opening the ADF Paper Chute (Cover)

  3. Prepare a profile in ScanSnap Home.
    1. Click the [Scan] button at the top of the Main Window of ScanSnap Home to display the Scan Window.

      If the main window is not already displayed, refer to To Display the Main Window.

      If the main window is not already displayed, click the [ScanSnap Home] icon ScanSnap Home Icon in the application list that appears when you click Launchpad in the Dock.


    2. Click Profile Adding Icon to display the [Add new profile] Window.
    3. Select [Envelope and Receipt] from the template list.

      If necessary, change the scan settings.

    4. Click the [Add] button to add this profile to the profile list in the scan window.
  4. In the home screen on the touch panel, select the profile that you added in step 3 from the profile list.
  5. Scan a document with the ScanSnap.
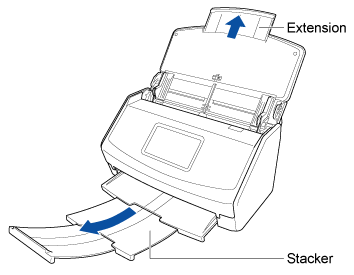
    1. Pull out the extension and the stacker on the ADF paper chute (cover).

      Pulling Out the Extension

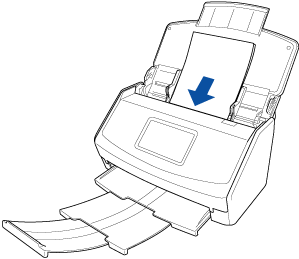
    2. Load only one document in the ADF paper chute (cover).

      Load the receipt face-down and top-first with its back facing you.

      Loading a Document

    3. Press the [Scan] button.
      HINT
      • To continue scanning, load the next document to be scanned in the ADF paper chute (cover). When the document is loaded, scanning starts automatically.

    4. Press the [Finish] button.

When the folder that you specified for the save destination is selected in the folder list view in the main window of ScanSnap Home, the content data records created from the receipts that you scanned are displayed in the content data record list view.
See also

  • Power for the ScanSnap
  • Scanning Documents with Overlapped Areas such as Envelopes
  • Modifying the Settings for a Profile
  • Changing the Title for a Content Data Record
  • Renaming a Folder
  • Adding/Changing/Deleting Tags for Categorizing Content Data Records
  • Before Using This Site
  • How to Use the ScanSnap Help
  • Customer Support
  • Cookie Policy

© PFU Limited 2018-2023

  • TOP