Saving Data to Your SugarSync Folder
This section explains how to save the scanned image as a PDF or a JPEG file to your SugarSync folder.
- You need to have a SugarSync account.
- You can save up to 100 files to your SugarSync folder at once.
When you first log into SugarSync after installing SugarSync Manager for Windows, the My SugarSync folder is automatically created.
My SugarSync is a sync folder used in SugarSync.
- Click the [Scan to SugarSync] icon
 in the Quick Menu.
- The [Scan to SugarSync] window appears.
HINTYou can configure the settings to not show the [Scan to SugarSync] window. If you configure the settings to not show the [Scan to SugarSync] window, scanned images are saved directly to the SugarSync sync folder.
For details about changing the settings, refer to Changing the Settings of Linked Applications.
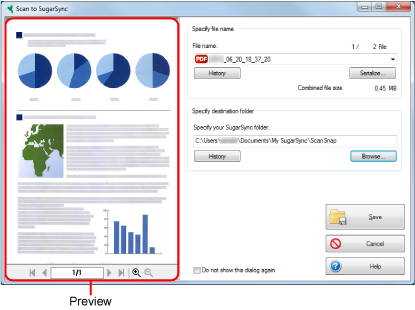
- Check the scanned image in the preview area.
In the [Scan to SugarSync] window, you can rename the file and specify your SugarSync folder.
For details about the [Scan to SugarSync] window, refer to the ScanSnap Manager Help.
 ATTENTION
The file will not be synced with SugarSync unless you select a SugarSync folder as the destination folder.
- Click the [Save] button.
- The scanned image is saved to your SugarSync folder.
- You cannot start scanning after the Quick Menu is displayed and before the [Scan to SugarSync] window is closed. Close the [Scan to SugarSync] window before scanning the next document.
- Do not move, delete, or rename the scanned image in other applications after the Quick Menu is displayed and before the [Scan to SugarSync] window is closed.
- You can change the settings for [Scan to SugarSync]. For details, refer to Changing the Settings of Linked Applications.
- Profiles can also be used for the linkage function. For details, refer to Profile.
- ScanSnap Folder can also be used to save scanned images to SugarSync. For details, refer to ScanSnap Folder Operations.