Attaching Files to E-mail
This section explains how to attach the scanned image file to an e-mail message.
HINT
The e-mail program selected in the [Mail] menu in Mail → [Preferences] → [General] icon → [Default email reader] is used as the e-mail program to link with.
The following e-mail programs are supported:
- Outlook 2019 (desktop version)
- Outlook for Office 365 (desktop version)
- Click the [Scan to E-mail] icon
 in the Quick Menu.
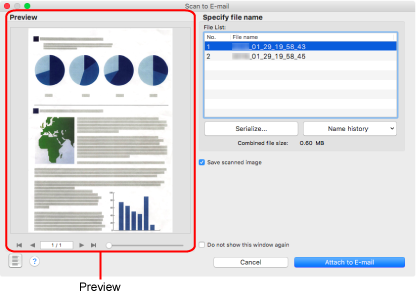
- The [Scan to E-mail] window appears.
HINTYou can configure the settings to not show the [Scan to E-mail] window. If you configure the settings to not show the [Scan to E-mail] window, a new message window appears with the file attached.
For details about changing the settings, refer to Changing the Settings of Linked Applications.
- Check the scanned image in the preview area.
In the [Scan to E-mail] window, you can configure the settings for attaching scanned image to e-mail.
For details about the [Scan to E-mail] window, refer to the ScanSnap Manager Help.

- Click the [Attach to E-mail] button.
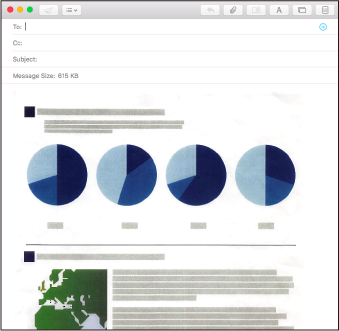
- A new e-mail message window appears with the file attached.

ATTENTION
- You cannot start scanning after the Quick Menu is displayed and before the [Scan to E-mail] window is closed. Close the [Scan to E-mail] window before scanning the next document.
- Do not move, delete, or rename the scanned image in other applications after the Quick Menu is displayed and before the [Scan to E-mail] window is closed.
HINT
- The settings for [Scan to E-mail] can be changed. For details, refer to Changing the Settings of Linked Applications.
- Profiles can also be used for the linkage function. For details, refer to Profile.