Basic Flow of the ScanSnap Operations
This section explains the basic operation procedure to scan a document with the ScanSnap.
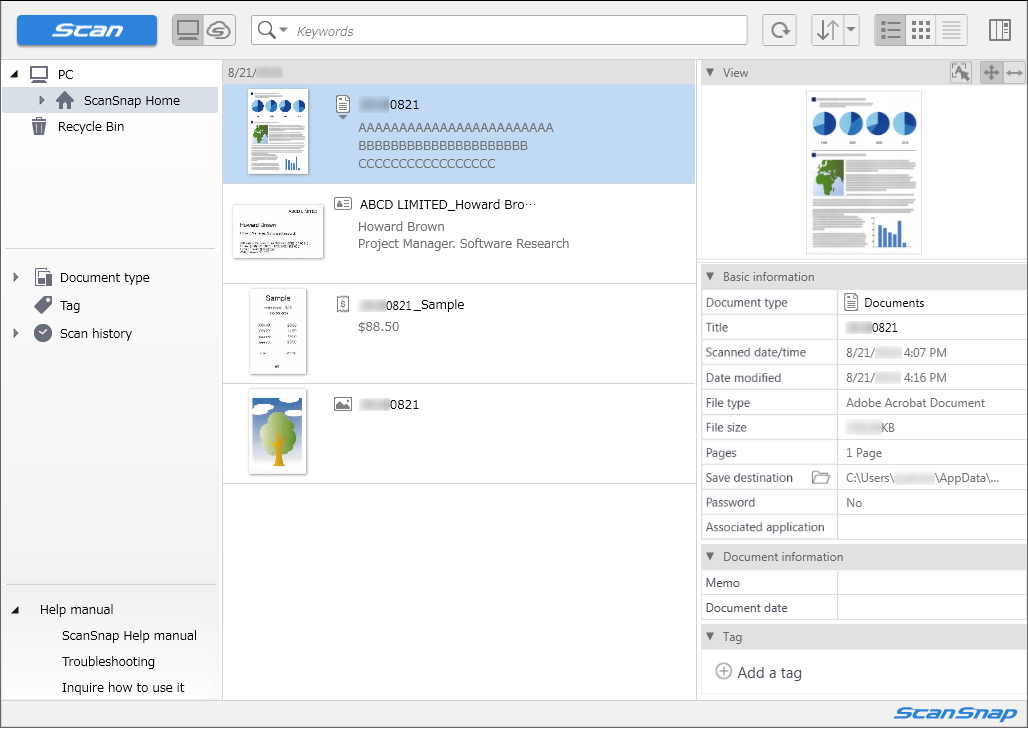
The procedure to check an image created from a document that you scanned in ScanSnap Home is described as an example below.
The operation after scanning varies depending on the scan settings in a profile for the ScanSnap.
- Turn on the ScanSnap.
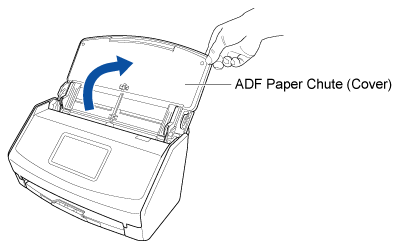
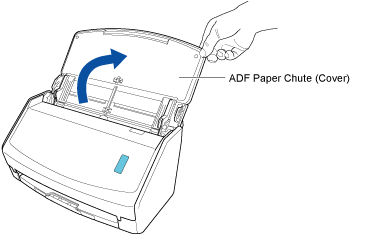
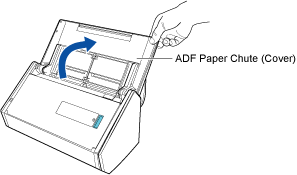
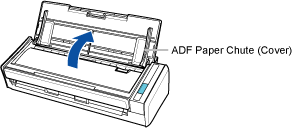
Open the ADF paper chute (cover) to turn the power on.
Hold the right side of the ADF paper chute (cover) of the ScanSnap then open it or press the [Scan] button to turn it on.
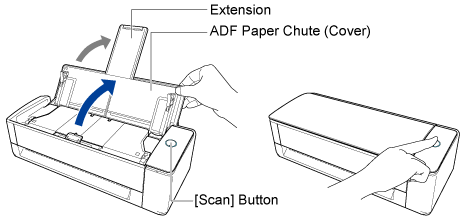
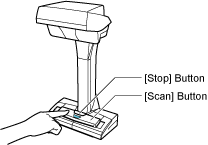
Open the ADF paper chute (cover) fully so that the [Scan] button lights up in blue.
When the ADF paper chute (cover) is opened, the extension will rise automatically.
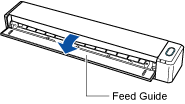
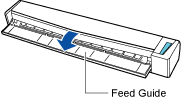
Open the feed guide to turn the power on.
Press the [Scan] button or [Stop] button to turn the power on.
- Selecting a profile in which the scan settings are configured for the ScanSnap
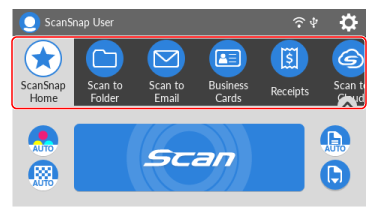
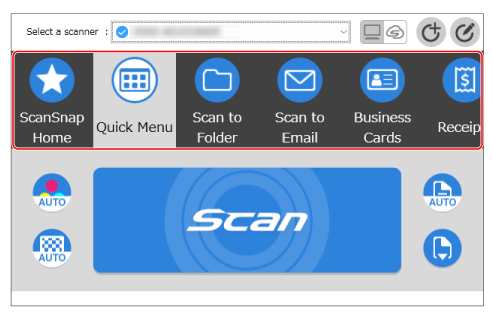
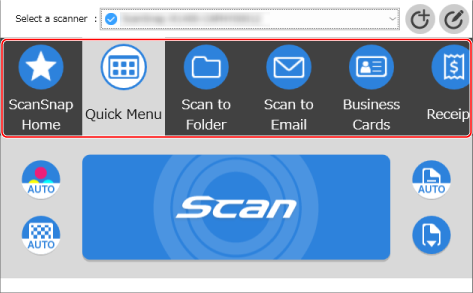
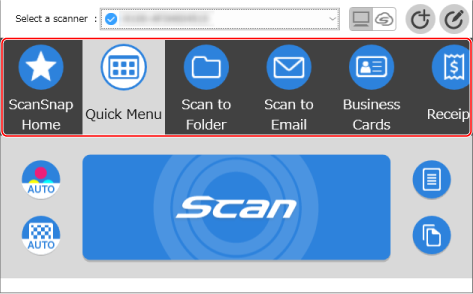
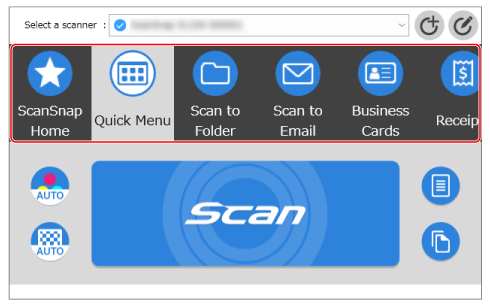
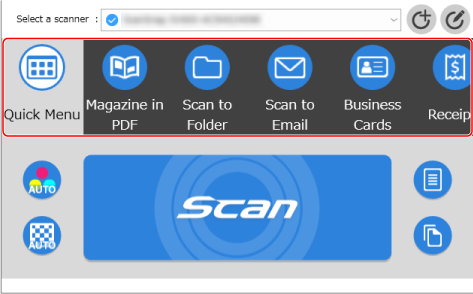
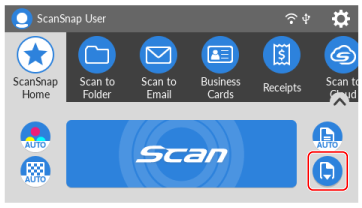
In the home screen on the touch panel, select [ScanSnap Home].
Select [ScanSnap Home] in the Scan Window of ScanSnap Home.
For details about how to change the profile settings, refer to Configuring Conditions for Scanning Documents (Profile).
For details about how to change the profile settings, refer to Configuring Conditions for Scanning Documents (Profile).
For details about how to change the profile settings, refer to Configuring Conditions for Scanning Documents (Profile).
For details about how to change the profile settings, refer to Configuring Conditions for Scanning Documents (Profile).
For details about how to change the profile settings, refer to Configuring Conditions for Scanning Documents (Profile).
For details about how to change the profile settings, refer to Configuring Conditions for Scanning Documents (Profile).
For details about how to change the profile settings, refer to Configuring Conditions for Scanning Documents (Profile).
For details about how to change the profile settings, refer to Configuring Conditions for Scanning Documents (Profile).
For details about how to change the profile settings, refer to Configuring Conditions for Scanning Documents (Profile).
For details about how to change the profile settings, refer to Configuring Conditions for Scanning Documents (Profile).
- Select a feeding method.
Select a feeding method in accordance with the document to be scanned.
 The feeding methods are the following three modes:
 Normal scan
Scanning automatically finishes when all of the documents loaded in the ScanSnap are scanned.
 Continuous scan
Scanning documents continues until the [Finish] button is pressed.
Select this mode when you scan a large number of documents in one go.
 Manual scan
Automatically scans documents loaded one sheet at a time in the ScanSnap until the [Finish] button is pressed.
Select this mode when you scan documents that have overlapping areas, long page documents, or thick documents.
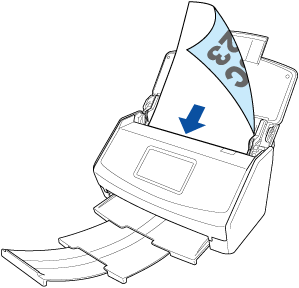
- Load a document in the ScanSnap.
In the ADF paper chute (cover), load a document face-down and head-first with the back facing you (when loading multiple documents, the last page is on the top).
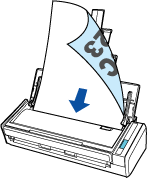
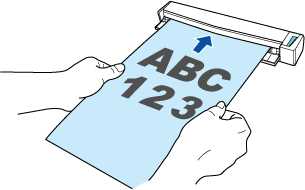
Insert a document straight into the feeding section of the ScanSnap, with the scanning side facing up.
Place a document with the scanning side facing up on the Background Pad.
For details about how to scan a document, refer to How to Scan Documents.
For details about how to scan a document, refer to How to Scan Documents.
For details about how to scan a document, refer to How to Scan Documents.
For details about how to scan a document, refer to How to Scan Documents.
For details about how to scan a document, refer to How to Scan Documents.
For details about how to scan a document, refer to How to Scan Documents.
For details about how to scan a document, refer to How to Scan Documents.
For details about how to scan a document, refer to How to Scan Documents.
For details about how to scan a document, refer to How to Scan Documents.


- Load or insert a document in the ScanSnap.
For details about how to scan a document, refer to How to Scan Documents.
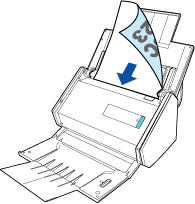
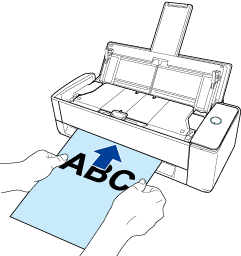
When scanning documents all at once (U-turn Scan)
Load the document face-up and head-first with the front facing you (when loading multiple documents, the first page is on the top).

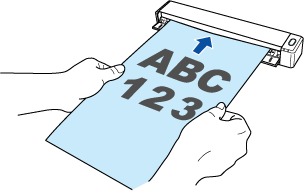
When scanning documents one by one (Return Scan)
Insert a document into the manual feeder.
Face the front side of a document upwards and insert the top end of the document straight into the middle of the manual feeder.
- Scan the document.
Press the [Scan] button to start scanning the document.
Press the [Scan] button on the ScanSnap to start scanning the document.
Press the [Scan] button on the ScanSnap to start scanning the document.
After scanning is complete, if the message "Load the next document." is displayed, you can continue scanning.
When the scanning of documents is complete, press the [Scan] button to finish scanning documents.
Press the [Scan/Stop] button on the ScanSnap to start scanning the document.
To continue scanning, insert the next document to be scanned. When the document is inserted, scanning starts automatically.
When the scanning of documents is complete, press the [Scan/Stop] button to finish scanning documents.

When
or is selected for the feeding method setting, the screen for checking whether to continue scanning documents is displayed after the scanning of documents loaded in the ScanSnap is complete. Press the [Finish] button to finish scanning.The image created from the document that you scanned is saved in the folder which is specified for [Save to] in the profile.
To continue scanning, place the next document to be scanned and press the [Scan] button.
When the scanning of documents is complete, press the [Stop] button to finish scanning documents.
- Check the content data record.
In the content data record list view in the Main Window of ScanSnap Home, check the content data record created from the document that you scanned.
ScanSnap Home enables users to manage, search, edit, and use content data records for a variety of purposes.