Scanning Documents Using Timed Mode
Scan documents using timed mode, which automatically starts scanning after a specified time has elapsed.
This scanning method is very useful when you scan multiple documents continuously.
-
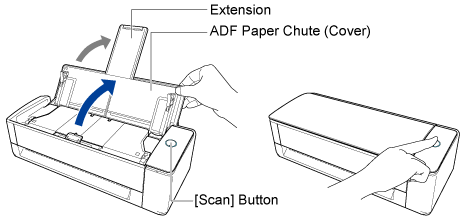
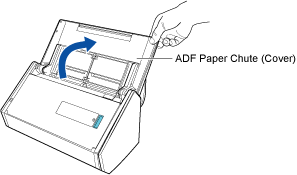
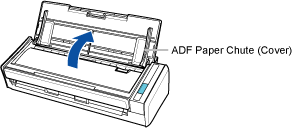
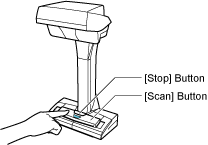
Open the ADF paper chute (cover) of the ScanSnap to turn the power on. Hold the right side of the ADF paper chute (cover) of the ScanSnap then open it or press the [Scan] button to turn it on. Open the feed guide of the ScanSnap to turn the power on. Press the [Scan] button or [Stop] button on the ScanSnap to turn the power on.
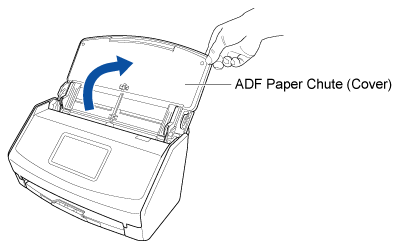
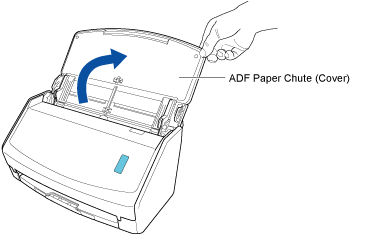
Open the ADF paper chute (cover) fully so that the [Scan] button lights up in blue.
When the ADF paper chute (cover) is opened, the extension will rise automatically.
-
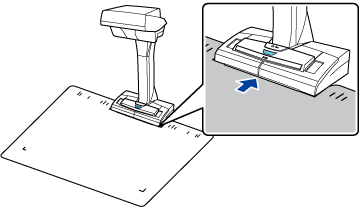
Place the Background Pad on the front side of the ScanSnap.
Place the Background Pad so that it is in contact with the ScanSnap.
- Configure the settings for a profile.
- Click the [Scan] button at the top of the Main Window of ScanSnap Home to display the Scan Window.
If the main window is not already displayed, refer to To Display the Main Window.
If the main window is not already displayed, click the [ScanSnap Home] icon
 in the application list that appears when you click Launchpad in the Dock.
 -
Click
 to display the [Edit profiles] Window.
HINT
to display the [Edit profiles] Window.
HINTWhen creating a new profile, click
 .
.From the template list in the [Add new profile] Window that appears when you click
, select a template profile and modify the settings.
- Click the [Scan] button at the top of the Main Window of ScanSnap Home to display the Scan Window.
- Place a document in the scan area of the ScanSnap.

The image created from the document that you scanned is saved in the folder which is specified for [Save to] in the profile.
-
You can receive a notification on your computer about the document type for the content data records and the save destination for the scanned images after the scanning of documents is complete.
For details, refer to Specifying Actions of ScanSnap Home.
When you establish a link with a cloud service with ScanSnap Cloud, refer to Specifying Actions When Using ScanSnap Cloud.
For details, refer to Specifying Actions of ScanSnap Home.